
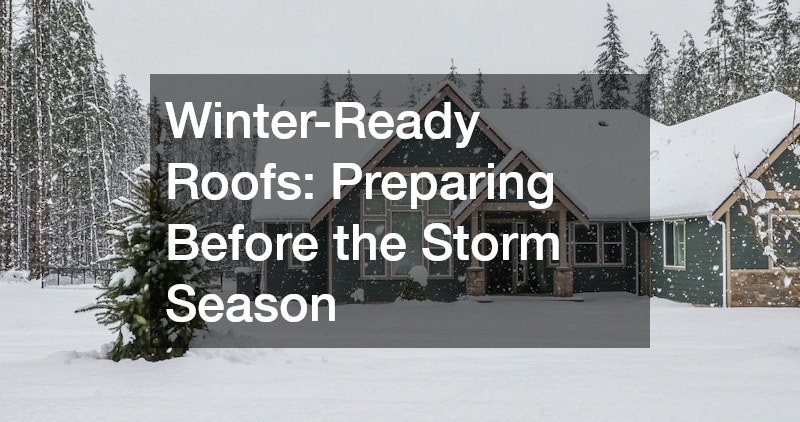
When winter storms roll in, your roof becomes the single most important barrier between your family and the elements. Ice, snow, and freezing rain can expose weaknesses you never knew existed, turning a small issue into a costly emergency. Taking time now to inspect, repair, and prepare your roof can save you from stressful midwinter surprises. This guide walks you through the practical steps every homeowner should take before the first major storm hits.
Assessing Your Roof’s Current Condition
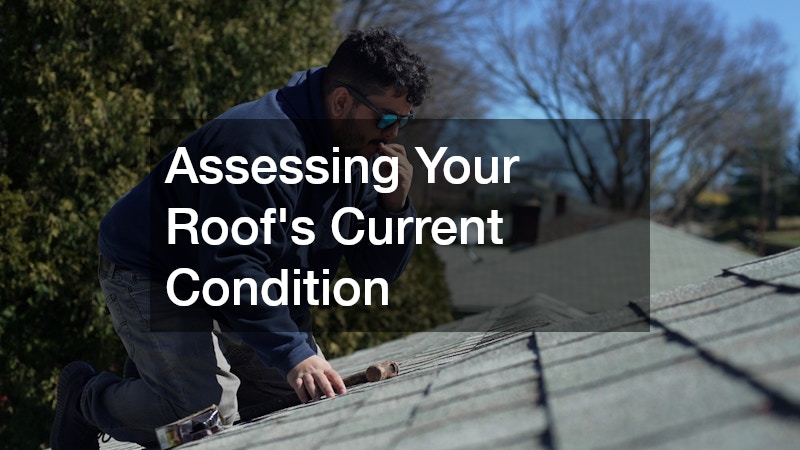
Before you can prepare for winter weather, you need an honest picture of where your roof currently stands. Walk your property line and look up at the roofline for obvious sagging, missing or curling shingles, cracked flashing around chimneys and vents, or discolored patches that could indicate trapped moisture. Granules collecting in your gutters are another red flag, signaling that shingles are wearing thin and losing their protective coating.
Inside your attic, check for daylight coming through the boards, damp or matted insulation, rusted nail tips, or musty odors, all of which point to underlying problems. A flashlight inspection on a sunny day makes pinholes and gaps much easier to spot. Pay close attention to the areas around vent pipes and skylights, since these penetrations are common entry points for slow, hidden leaks.
If you’re comfortable doing so, also check your attic for proper ventilation and insulation depth, generally 12 to 15 inches for most climates, since poor airflow can lead to ice dams once temperatures drop. Otherwise, a qualified roofing contractor can perform a more thorough inspection using moisture meters or infrared imaging to detect problems invisible to the naked eye.
Catching these issues early often means the difference between simple roof repairs and a much larger project once snow and ice add extra weight and stress. A small, inexpensive fix addressed in October can prevent a collapsed section or interior water damage come February.
- Look for curling, cracked, or missing shingles, especially on south- and west-facing slopes where sun exposure accelerates wear
- Check flashing around chimneys, vents, and skylights for gaps, rust, or lifted edges that could let water seep in during heavy rain or snowmelt
- Inspect the attic for water stains, dark streaks, or pinpoints of daylight showing through the roof deck
- Feel for damp or spongy insulation in the attic, which can signal a slow, ongoing leak
- Note any sagging areas along the roofline or dips between rafters, which often point to structural or moisture damage
- Check for granule buildup in gutters, a sign of shingle wear that shortens the roof’s remaining lifespan
- Examine gutters and downspouts for cracks or loose brackets, since clogged or damaged drainage can force water back under shingles
- Look for moss, algae, or dark streaks on the roof surface, as trapped moisture beneath these growths can rot decking over time
Why Timing Matters Before Winter Storms Arrive
Roofing issues rarely wait for convenient weather, but scheduling work before the cold season gives you far more flexibility than trying to fix things during an active storm. Many homeowners wait until they notice a leak, only to discover that a qualified roofing contractor is booked solid once temperatures drop and demand spikes. Materials like sealants and adhesives also perform better when applied in moderate temperatures, which means fall repairs tend to hold up longer than emergency winter patches. Planning ahead simply gives you more control over cost, scheduling, and the quality of the finished work.
Finding the Right Professional for the Job
Not every roofing problem requires the same level of expertise, so it helps to understand who you are hiring and why. Some homeowners start by researching local roofing contractors in their area, comparing reviews, licensing, and insurance coverage before requesting a quote. Others need a more specialized eye, especially for complex issues like structural damage or unusual roofing materials, in which case a roofing specialist may be the better call.
Take time to ask questions about experience with your specific roof type, whether it is asphalt shingle, metal, tile, or flat roofing. A reputable professional should be willing to walk you through their inspection process and explain their findings in plain language.
- Verify licensing and insurance before any work begins
- Ask for references from recent local projects
- Confirm written estimates that outline materials and labor
- Ask about warranty coverage on workmanship
Repair or Replace: Making the Right Call

One of the biggest decisions homeowners face is whether to patch existing damage or invest in one of the many available roof replacements. Age plays a major role here, since most asphalt shingle roofs last between twenty and twenty five years, while metal or tile roofs can last forty years or more. If your roof is under fifteen years old and the damage is isolated, a repair is usually the smarter, more budget-friendly choice.
Once a roof passes the twenty year mark, though, repairs tend to become a losing game. Widespread wear, multiple leak points, curling or missing shingles across large sections, and structural sagging in the decking are all signs that the roof’s overall integrity is compromised, not just a single spot.
A simple rule of thumb: if repair costs are creeping past 30 percent of what a full replacement would cost, or if you’ve called for the same repair twice within a year or two, replacement is often more cost effective in the long run than repeated patch jobs. Factoring in insurance considerations and resale value can also help tip the decision one way or the other.
A professional assessment can help you weigh the true cost difference between ongoing repairs and starting fresh. As a rule of thumb, if repair costs exceed 30% of a full replacement, or the roof is already past 15-20 years old, replacement often makes more financial sense long-term.
Consider how many winters you expect to get out of the current roof before deciding which path makes more financial sense. Look at factors like recurring leaks, sagging decking, or missing shingles in multiple areas, since these often signal deeper structural issues rather than isolated fixes.
A qualified roofer can also factor in your local climate and insurance considerations, helping you avoid costly emergency repairs mid-winter.
- Roof age near or beyond twenty years — most asphalt shingle roofs are rated for 20-25 years, and materials beyond that mark lose flexibility, making them prone to cracking in freezing temperatures
- Multiple active leaks in different areas, especially if they appear after every heavy rain or snowmelt, signaling widespread underlayment failure rather than an isolated issue
- Visible sagging, structural movement, or a rooflines that dips between rafters, which can indicate rotted decking or overstressed trusses that repairs alone won’t fix
- Repeated repair costs adding up over time — if you’ve called for patches two or more times in a single year, replacement is often the more cost-effective long-term choice
- Granule loss or bald spots on shingles, visible in gutters or downspouts, showing the roof’s protective layer is wearing thin
- Daylight visible through the attic boards or roof deck, a clear sign that gaps have formed and winter moisture will find its way in
Clearing Debris and Preparing Your Property
Winter roof projects and seasonal cleanup often generate more waste than people expect, from old shingles to tree branches damaged by early season winds. Renting a dumpster before starting any cleanup or repair work can make the process far more manageable, especially if you are tackling multiple projects at once. Many homeowners find that residential dumpster rentals are a practical way to handle debris removal without multiple trips to a disposal site. Having a designated space for waste also keeps your property safer and more organized while contractors are working overhead.
- Order a dumpster sized appropriately for your project scope
- Clear driveway access for delivery and pickup
- Separate roofing debris from yard waste if required locally
- Confirm rental duration matches your project timeline
The Role of Gutters in Winter Roof Protection
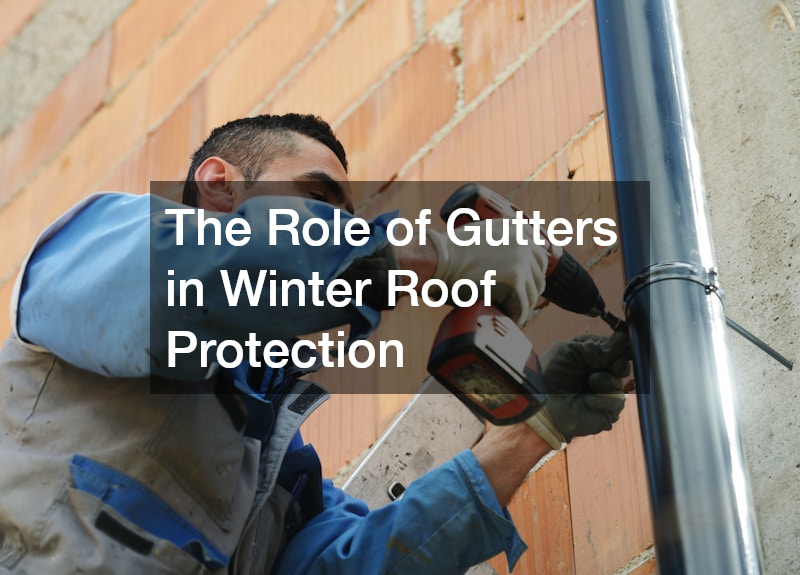
Gutters do more than direct rainwater away from your foundation, they also play a critical role in preventing ice dams that can damage your roofline. When gutters are clogged with leaves, twigs, or granules shed from aging shingles, water backs up under the roof edge and refreezes overnight, creating pressure that lifts shingles and forces moisture into the decking below. Even a half-inch of trapped debris can be enough to redirect water where it doesn’t belong.
Poorly fitted or sagging gutters make the problem worse, since gaps and low spots give water a place to collect instead of flowing toward the downspout. Upgrading to seamless gutters can reduce the risk of leaks at the seams, which are often the weak point in traditional sectional gutter systems assembled from multiple joined pieces. Because seamless gutters are custom-cut to fit your roofline in one continuous run, there are far fewer joints where ice and debris can build up.
Before storm season arrives, it’s worth having gutters inspected for proper pitch, secure fastening, and adequate downspout capacity, especially on roofs with steep or complex rooflines that shed snow quickly. Adding gutter guards can also cut down on debris buildup between cleanings. Properly installed and maintained gutters keep melting snow and ice moving away from your home instead of pooling along the roof edge, protecting both the shingles and the structure underneath.
Cleaning gutters before the first freeze is one of the simplest yet most overlooked winter prep tasks. Leaves and grit clog downspouts quickly each fall, leaving standing water pooled in the troughs.
Debris left in place traps moisture against the roofline, and that trapped water can freeze into ice dams, accelerating wear on both the gutters and the shingles above them.
What to Expect From a Professional Inspection

A thorough inspection should cover more than just a quick glance from the ground. Professionals typically check the condition of shingles, flashing, seals around vents and skylights, and the state of the decking underneath. A quality roofing service will also evaluate attic ventilation and insulation, since poor airflow contributes to ice dam formation and premature aging of roofing materials.
Ask for a written summary after the inspection so you have documentation of the roof’s condition heading into winter. This record can also be useful later if you need to file an insurance claim after a storm.
- Shingle and flashing condition assessment
- Attic ventilation and insulation check
- Gutter and downspout evaluation
- Photo documentation of problem areas
Comparing Local Options in Your Area
Not all providers offer the same level of service, so it pays to compare a few options before committing to any winter roofing project. Reaching out to several local roofers allows you to compare pricing, availability, and communication style before storm season limits your choices. Larger jobs, such as full replacements, may be better suited to established residential roofing companies with the crew size and equipment to complete work efficiently before weather turns.
- Compare at least three quotes for larger projects
- Ask about typical project timelines during busy season
- Confirm cleanup and disposal are included in the estimate
- Check if emergency repair services are available after hours
Insulation and Ventilation Considerations
A well prepared roof depends on more than just the shingles you can see from the street. Proper attic insulation keeps warm air from escaping and melting snow unevenly on the roof, which is a leading cause of ice dams. Building codes typically call for R-38 to R-49 insulation in attics in colder climates, though many older homes fall short of this standard and benefit from an upgrade before winter arrives.
Balanced ventilation, including intake vents at the eaves and exhaust vents near the ridge, helps regulate temperature and moisture levels throughout the colder months. A general rule of thumb is one square foot of ventilation for every 300 square feet of attic floor space, split evenly between intake and exhaust. Without this balance, trapped moisture can condense on the underside of the roof deck, leading to mold, rot, or weakened sheathing over time.
Addressing these behind the scenes elements often prevents problems that would otherwise appear as leaks or damage once storms arrive. A quick attic inspection for compressed insulation, blocked soffit vents, or signs of moisture staining can catch small issues before they turn into costly repairs.
Preparing your roof before storm season is one of the most practical investments you can make in your home’s safety and longevity. From clearing debris and upgrading gutters to scheduling a professional inspection, small steps taken now can prevent major headaches later. Do not wait until the first snowfall to address warning signs you already know exist. Reach out to a qualified professional today and enter winter with confidence that your roof is ready for whatever the season brings.